
Arrange electrical, plumbing, mechanical, and framing inspections before foam hides the work. This includes pipes or ducts in exterior walls and penetrations through areas we will spray. If an inspector permits staged work or photographs, get that approval before concealment. Photos alone are not a substitute for approval.
Resources / Project preparationBefore we spray,
FROM JESSE & THE ENVIRO-FOAM CREW
Before we spray,
let’s get ready.
The details you handle now help us reach every cavity, protect the finished surfaces, and keep your project moving. Use this checklist with your builder and trades.
Start the preparation checklist ↓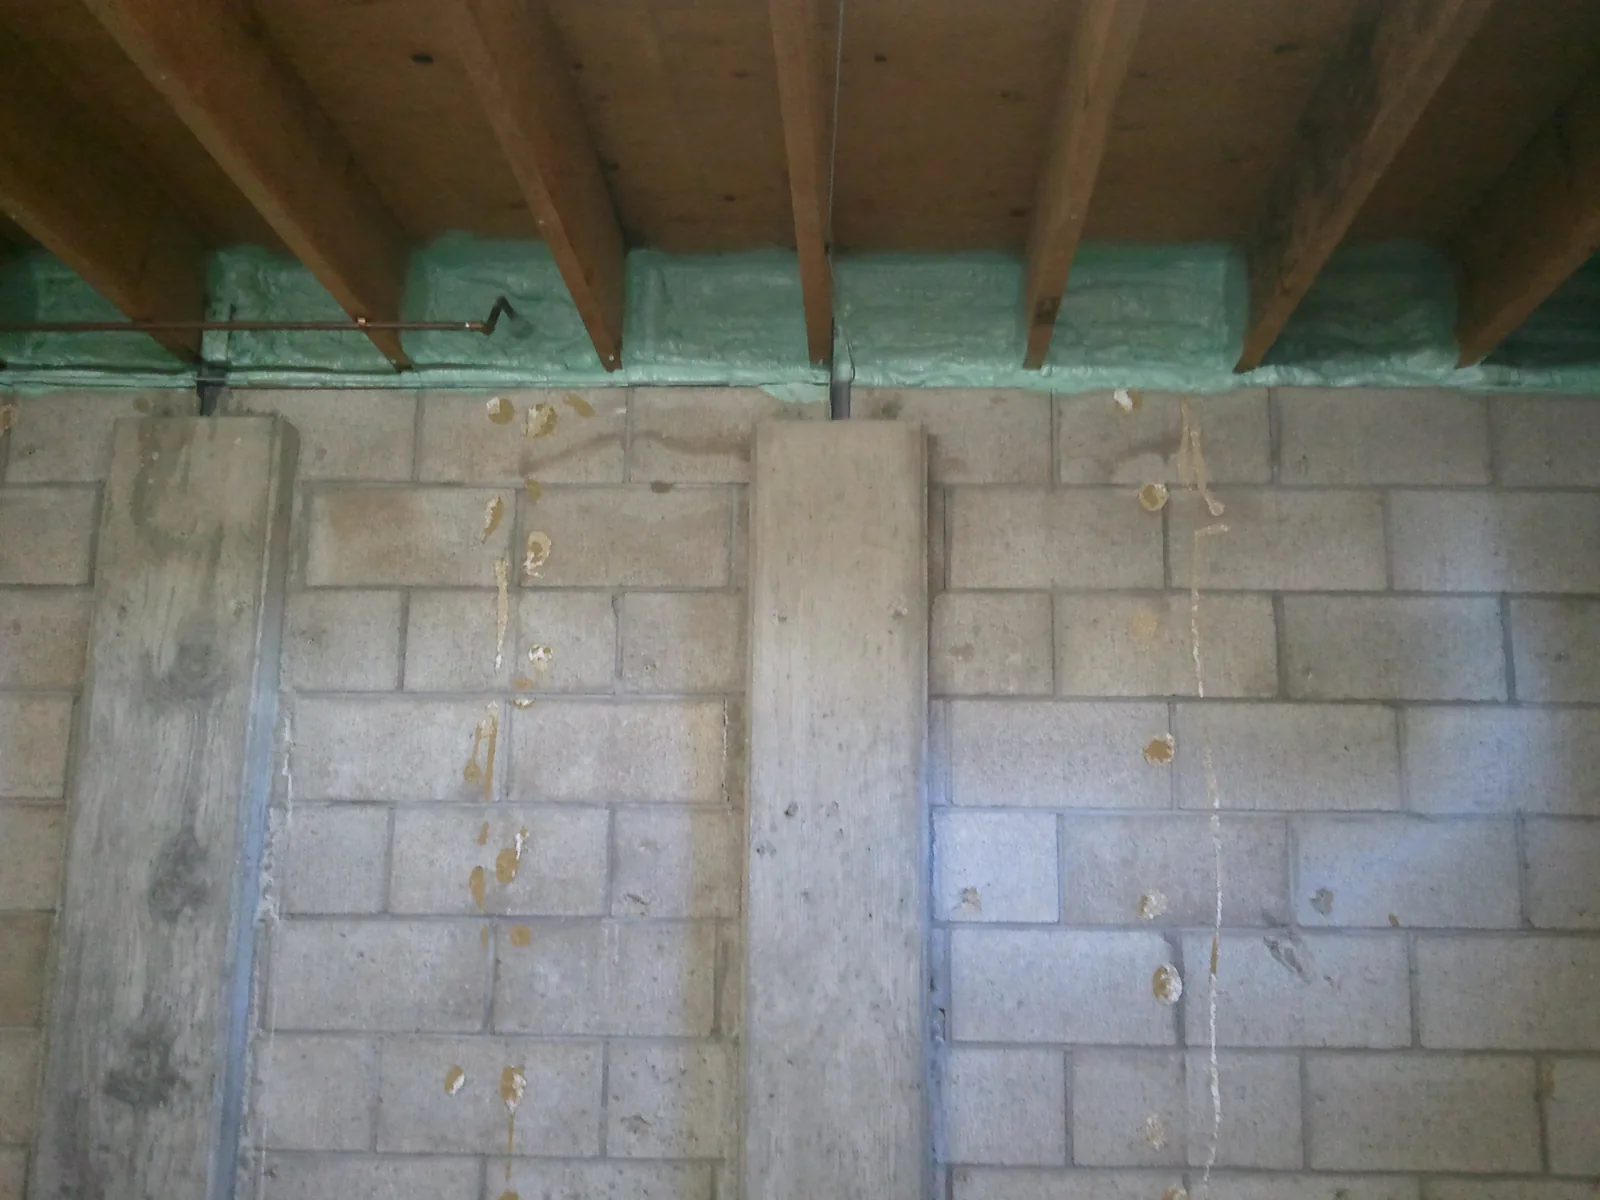
01 / BEFORE ANYTHING GETS COVERED
Start with approval
and a good sequence.
If we are spray foaming the walls and blowing insulation into a vented attic, let us get in while the ceiling is still open so we can install vent channels. This applies to houses and other buildings as well as pole buildings. Coordinate any change in sequence with us first.
Confirm whether insulation follows the flat ceiling or roofline, which spaces remain vented, and how foam will be protected after installation. Ventilation paths, air barriers, vapor control, and required fire protection belong in the plan before spraying.
02 / POLE BUILDINGS & POST-FRAME CONSTRUCTION
Give the foam
a place to stop.
When foam-insulated walls meet a future vented flat attic, the tops of the wall cavities need continuous termination blocking. Our typical detail uses a 2×6 on edge immediately below the bottom of the truss bottom chord, positioned so it can also serve as a ceiling nailer.
This gives the foam a backing to seal against, helps keep conditioned air from entering the attic through the wall cavities, and keeps blown cellulose from dropping down into the walls. Confirm the exact detail and attachment with Enviro-FOAM and your builder. It must suit the approved building design; do not alter a truss to fit it.
Metal panels are not automatically airtight. Coordinate a continuous, supported air barrier, sealing seams, perimeter transitions, and penetrations before the ceiling metal closes off access. Choose a membrane approved for that location. Polyethylene restricts vapor movement; vapor-permeable products such as housewrap have a different role and are not interchangeable.
Confirm the vapor-control plan with us, especially where closed-cell foam is already part of the assembly. Have the building designer verify the ceiling support and insulation load for widely spaced trusses; membrane and metal panels alone do not establish the capacity. Compare insulation weight and read about air barriers.
Check that wall metal is fastened as the building and panel manufacturer specify, especially corners, perimeter edges, garage doors, and windows. Expanding foam can work behind unsecured metal and push it outward. Foam is not a replacement for missing fasteners.
Fit closure strips at unintended openings where panel ribs communicate with outdoors: wall bottoms and tops, above windows, and applicable Z-, J-, or F-channel details. Review roof and ridge transitions with the builder. Keep designed soffit and ridge ventilation open; use the specified vented closure where the design calls for one.
If closures are missing, we can often carefully block the openings with one-component foam. That adds labor and can still allow foam to escape onto finished metal. Proper closures are the better preparation.
03 / ELECTRICAL BOXES, WINDOWS & DOORS
Put the details
in their final position.
Boxes should be secured in their final positions and project the correct distance for the planned drywall, paneling, or other finish. Have the electrician neatly tuck conductors into the boxes before we arrive so we can mask them. Junction boxes must remain accessible; they are not filled with insulation.
We seal window and door perimeter gaps in the walls included in our foam scope. Once the foam is between the unit and framing, adjustment becomes harder. Set, secure, and check operation first—or tell us which units still need adjustment so we can coordinate the perimeter sealing.
04 / KEEP THE INSULATION ACCESSIBLE
Think like you’re
planning to spray paint.
Talk to us before furnaces, water heaters, HVAC equipment, tubs, ductwork, or other large items obstruct a cavity. We may need to make an early visit for those areas, coordinated with the required inspections.
Basement, crawlspace, and between-floor rim areas need room for the hose, applicator, and a clear spray angle. If we cannot see into a space, it is harder to verify coverage. Drilling and injecting a hidden cavity is not the same as watching the foam application.
Have the builder and insulation contractor resolve enclosed bands, corners, and wall intersections before closing them. A planned rigid-foam detail or another approved insulation approach may be needed while access remains available. Maintain the assembly’s air sealing, vapor control, and required fire protection.
California-style corners can leave insulation accessible instead of trapping an empty space behind studs. The same principle applies where an interior wall meets an exterior wall. Agree on the framing and drywall backing with the builder; do not remove structural members just to make access.
A header positioned toward the exterior sheathing may leave an interior space we can insulate directly, even if shallow. That is easier to verify than drilling and injecting a closed pocket. Header size, position, bearing, and connections must follow the approved framing design.
05 / READY FOR INSTALLATION DAY
A clear work area.
A clear plan.
Tell us about damp wood, wet concrete, rust, oil, coatings, or loose material. Repair active leaks first. We check substrate conditions against the selected foam’s application instructions; a universal moisture or temperature limit does not fit every product.
Move stored belongings, vehicles, and sensitive equipment away from the work and exhaust areas. Arrange access, lighting, hose routes, and protection of finished surfaces with the crew. Tell us about anything that must stay in place.
Point out chimneys, exhausts, appliances, and recessed fixtures so their required clearances and approved separation details can be maintained. Ordinary spray foam is not a high-temperature sealant or a substitute for a rated firestop system.
Before spray day, agree on which areas must be vacated, where pets and other trades will go, how the work area will be isolated and ventilated, and when occupants may return. Follow the selected product’s instructions and our site-specific plan. Do not assume every foam has the same re-entry time, or that the home’s HVAC is the spray-area exhaust system.
Tell us about damaged wiring, active knob-and-tube wiring, suspected hazardous materials, rot, pests, and bathroom fans exhausting into the attic. These may need assessment or work by another trade before insulation. Bath exhaust should discharge outdoors.
FIELD EXPERIENCE + TECHNICAL BACKGROUND
Built from the details
we talk through on site.
Job-specific preparation advice from Jesse Coates, Enviro-FOAM. Technical references checked November 14, 2026:
- Huntsman: Heatlok HFO Pro application guide — substrate preparation and product conditions.
- DOE / PNNL: condensation control in attics and roofs — baffles, dams, and ventilation.
- DOE / PNNL: insulated headers and wall intersections.
- DOE / PNNL: spray foam at existing attic floors — existing conditions and equipment details.
- EPA archived ventilation guidance and re-entry guidance. Current product instructions govern the actual project.
- Michigan residential inspection provisions, R109.1.4 and R109.4. Coordinate the applicable requirements with your local authority.
BEFORE THE NEXT TRADE ARRIVES
Let’s catch
the little things.
A quick conversation before something gets covered can make a big difference. Send us your questions and a few photos.
Talk to Jesse